Thursday, May 5, 2011

Hoppy Hop Discussions

Hi Everyone!  What I thought was going to be at least a weekly blog has turned into only monthly... oh well!  But I think my posts balance well with my writings for Life Told in Recipes, so I can't complain too much.  Besides, there's SOOO much to say about beer, and I'm glad I have the opportunity to say what needs to be said!

IPAs are one of my favorite styles (although picking a favorite style is very difficult... I just like them all!), and I think it's a good style for getting into craft beer.  Others can argue that the flavors in IPAs are too bold as a beginner style... but why not go all out?!

India Pale Ales, or IPAs, originated as an English style of beer.  As the British were sending goods and supplies to India, it became necessary to figure out a way to ship beer across the ocean so that it didn't spoil by the time it arrived in its destination.  There are a few natural preservatives in beer that the British accentuated:  they increased the amount of alcohol (alcohol being the waste product of fermentation is essentially toxic to yeast and many other contaminants) and increased the amount of hops (again, hops are a natural preservative in beer).  The result then became a strong, hoppy ale which would last the journey.

The style certainly still exists today in England, but it has evolved quite a bit in the United States.  As many things in America, hops have become more pungent and bolder than their European counterparts.  We have different "citrus-y" varieties which impart a fresh and fruity aroma and flavor (as opposed to the English and European spicy and earthy flavors), the Alpha Acid Percentage (that is, the property of the hop which lends itself to bitterness) in American hops are higher resulting in a more bitter final product.  The last different might be obvious to some, but nonetheless is very important; the English use English yeast, and Americans use American yeast.  English yeasts are beautiful such that they impart all these great fruity esters, and American yeasts tend to be very VERY clean.  American IPAs are more straightforward with their construction (playing with malts and hops) but must be artfully designed to provide balance amongst the factors.

So... Increased alcohol (malt), hoppy late additions, not too sweet, clean yeast fermentation... you can now see how there are SO many variables!  And you can also see how every brewer and brew pub can make an IPA and each can come out completely different.

Let's look at my recipe and discuss the major factors in designing a decent and balanced IPA:


Batch of the Moment
OG: 1.067
FG: 1.017
ABV: 6.5%
IBU: 59

15 lbs American 2-Row
4 oz Crystal 60
4 oz Crystal 40
1 ½ oz Columbus Hops - 60 min
1 oz Amarillo Hops - 10 min
½ oz Amarillo Hops - 2 min
½ oz Columbus Hops - Flameout
½ oz Amarillo Hops - Dry Hop
House yeast (Pacman)


The biggest factor is the balance of gravity (and perceived sweetness post-fermentation) and bitterness.  I recommend a ration of 1:1... this has worked for me in the past.  The ratio might be a little balanced towards the bitter end of the spectrum, but we have to keep in mind that some will fall out as the beer ages.  In this particular case, the balance is a little less on the bitter spectrum, but the attenuation given is at 75%; I often get better attenuation with Pacman, so the ratio will get closer to 1:1.

It doesn't really matter which bittering hops you use, as long as they are high Alpha Acid.  The less Alpha Acid percentage your hops are, the more you have to use, resulting in more ounces of hops you'll have to boil, which results in more sludge at the bottom of your kettle afterwards!  For flavor and aroma, I like Amarillo, but it's in short supply these days.  Cascade or any other American hop will be fine.  Find something you like and go with it!

As for yeast, I have had great success with Pacman... I keep a house culture around until I've fermented all I can out of a single pitch.  When Wyeast releases it again, I'll start my culture over.  I believe Dogfish Head uses Ringwood, which is actually a British strain (but they've always been a little off-centered... in a GOOD way!!).  There's always the Chico strain (WLP001, WY1056, or US-05) which is also very clean... think Sierra Nevada.  I like the yeast, but with the wrong hop combination, the flavor turns astringent.  Just my two cents ;)

Ok, my formula... feel free to copy, add, subtract... WHATEVER -

Start with the strength you want your beer... in this case we were looking between 6.5-7% ABV.  In this case it's about 15 lbs of grain (or an equivalent amount of extract).  Use .25-.5 lb of some sort of crystal malt for a little residual sweetness, color, and complexity... any will do, even Special B.  Find a high Alpha Acid hop and use enough to boil for 60 min to achieve a majority of your bitterness.  Add later hop additions as you seem fit to up your IBUs and add that stereotypical hop flavors and aromas you're looking for.  For these additions, again, use hops you like!  Experiment, lather, rinse, and repeat.

CHEERS

Friday, April 1, 2011

Wheat-tastic

In my most recent posting in Life Told in Recipes, I gave a GREAT recipe for wheat beer.  It's simple, straight forward, and is completely customizable to your needs!

Want neutral flavor with robust wheat?  No Problem
Want some hoppy goodness?  No Problem
Want some fruit?  No Problem

But how do you customize your beer to suit your needs (or at least your needs of the moment)?  And with all that being said, how do you make a quality beer that is not only to your tastes but still balanced?

Well... here we go:

First, let me review our base recipe....

OG 1.043, FG 1.009, ABV 4.5%, IBUs 17
4 ½ pounds Base Malt
4 ½ pounds Malted Wheat
1 oz Tettnanger hops at 4% AA (or something else?), 60 minutes
Yeast of your choosing
(don't forget to mash your grains... 150* should be fine)
(oh... and you might need some rice hulls to help with your sparge! Start with a half pound and go from there)

Ok, now what? I've clearly left options open... what type of hops to use, what yeast strain, and then the ever important use of fruit. But all of the factors influence one another, so you must keep that in mind... Let's break it down:

Hops
You're going to need to add some bitterness to your beer. All beers have it, and, while I feel you want to balance a wheat beer towards the malty (and wheat) side of the spectrum, you still need SOMETHING in there. If you're looking for a neutral bittering, why not try something European, like Tettnanger or Hallertauer (hmm... noble hops? hint hint... BTW if you don't know what the Noble Hops are, look it up... there are only 4 of them!). But then again, you could use East Kent Goldings (my favorite English hop) or Styrian Goldings for some floral and spicy flavors. To be even more interesting, maybe try one of the American "C" hops... I'm a fan of Cascade for wheat beers, but maybe even Amarillo (ok, it doesn't start with a "C") if you can find them. Bottom line, any hop will do. If you want hoppy flavor to come through, consider a later hop addition. AND, if this is something you're going for, make sure to pick a neutral ale yeast and a complementing fruit combination if that's your thing (or no fruit at all, since you might want the hops to shine).

Yeast
Traditional Bavarian Wheat Beers have a LOT of banana and clove esters in their flavor and aroma profiles. There's nothing wrong with that, it's just not my thing. The most famous yeast comes from the Weinhenstephan Brewery, and is available commercially as WLP300 or WY3068 (I guess technically, the yeast companies say that these yeasts exhibit profiles very similar to the famous W Brewery... but it's just a technicality, right?). Please ferment with restrain... the higher the temp, the more esters, and the more I don't like it!! I'm not opposed to banana or clove, but too much is simply too much. If you are going to Americanize the hops (as we discussed above) or might add fruit, you should consider a neutral American ale yeast. I have used US-05 (WLP001 or WY1056) in the past with great results, especially if I'm going to add fruit. By using the American yeast, the subtle esters will not get in the way of any other flavor from other sources you might want to have in your beer.

Fruit
So basically, there are 3 ways to add fruit to your beer. (Before I go any further, much of this information is from podcasts from The Brewing Network, and specifically from Jamil Zainasheff... please check these sites and resources out!!) I've used only two of them since the third scares me. The first way is to use a fruit extract; I've used it for parties when I've wanted a fruity wheat beer just to satisfy the thirst of my friends. It's not ideal, tastes like something out of a jar, but does the trick in a pinch. The next way, which is the way that scares me, is to use fresh fruit. My big concern with using fresh fruit is how to sanitize it. I guess you could boil it or pasteurize it, but that takes too much work and I'm lazy. I guess you could go through the effort if you had fresh fruit in abundance at your disposal (it takes a LOT of fresh fruit!!)... but the decision is yours! The way I use is to use a canned or frozen fruit puree. Because these are minimally processed (basically the pasteurization is down for you), they are of GREAT flavor and quality and really easy to use. Just pop the puree into a clean and sanitized bucket, and rack your beer on top (secondary fermentation). If you are going to put fruit in your beer, you'll have to experiment with the amount; something like strawberries or peaches might need more fruit per gallon than a stronger fruit like raspberries, blueberries, or some sort of combination.


Happy Brewing!!!!!

Tuesday, March 8, 2011

Tuesday Tastings - O'Fallen Smoked Porter

When in Rome... we like local.  Maybe it's an American thing (although I'm the first to admit that I don't rush into the entire right-wing Americana fad, even I must admit that I was born on these soils... well not EXACTLY these soils... Even though I know reside in Kansas City, MO, I'm from New England, and VERY proud of that!).  Maybe we're just sick of processed food from the big chains, so maybe it's a freshness thing.  I don't know...  My partner and I like to eat with local ingredients, drink from the local coffee shops, and find anything from with a 20 min drive.  So when it comes to beer, there are a few local specialties within an arm's reach.  

I've been to the Boulevard Brewery half-a-dozen times (for those who don't know, Boulevard is the 2nd largest brewery in Missouri... two guesses which is the largest... the first doesn't count!!), and I'm always amazed at how AWESOME their beer is... for a brewery which produces an average of 300 kegs per batch, roughly 150 barrels (I think... I'll have to look it up and get back to you), they sure make their beer in the style of a microbrewery.  There are some others here which I LOVE:  McCoy's, 75th St Brewery, High Noon Saloon... and there are SOOOO many that I didn't list!

I must admit, though, I don't know much about O'Fallon's...it's about 3 hours drive from my home (so nearly to St. Louis), but I've certainly seen their beers on the shelves in my local liquor store.  When I'm out with my friends, I often like to stay safe and drink what I know and save the testing and tasting for home when I can concentrate.  But this one leaped from the menu!!!!  I usually don't drink many smokey beers, but you know... why not?


Directly from the O'Fallon's website:

O’Fallon Smoked Porter
Dark, rich and smoky…this classic porter is brewed with 63% German smoked malt and makes a perfect after dinner (or anytime) sipper for those who love a “bigger” beer. Winner of the Gold Medal in the 2004 Great American Beer Festival® for best Smoked Beer in America!O'Fallon Brewery Smoked Porter
Style: Smoked Porter
Alcohol: 6.0% ABV
Bitterness: 24 IBUs
Color: 29.5 SRM
Grain: 63% Bamberg Smoked Malt, Pale, Caramel 90L, Chocolate, Black-White Wheat
Hops: Chinook, German Hallertau Mittlefruh


I preceded this by Ephemere, which is an apple beer... very interesting contrast!  The waitress described this to me as VERY smokey... but it wasn't that at all! The smoke wasn't even subtle, just enough to add some depth to the porter... That is AMAZING for a beer made of 63% smoked malt!  I did taste some of the sweetness from the Caramel, and the wheat (I believe) added to a very complex mouthfeel that wouldn't normally be there with just barley.

I actually found this beer at World Market, bought another, and have it in the fridge ready to go for a much better (and controlled) tasting.  On the same trip, we bought 3 or 4 different ciders, which we'll pull up in a flight... stay tuned!

Has anyone out there tried this smoked porter?  or any others from O'Fallon's?  How about other smoked beers you like?

Cheers - Mike

Thursday, March 3, 2011

Ah, you want to brew beer...

My violin teacher from Boston wrote a book titled Ah, You Play the Violin; I can't think of a better title to kick off this blog about beer, brewing, eating, and everything else out there!  I'm so glad that many of you will follow my adventures...  After writing for Life Told in Recipes, I received many GREAT comments... mostly that my postings were excellent, but when it came down to how to brew and other brewing related topics, most readers were simply lost.  So... here yah go!!  Hopefully, this will be one of very few posts to actually walk through brewing beer... the plan after today is to just be a resource of interesting ideas and topics!

Ah, you want to brew beer... well, it's actually quite simple.  If you can follow a recipe and make, for example, soup, then there is NO reason you can't brew beer.  The basics:  extract sugar with naturally occurring enzymes found in malted barely by steeping in hot water, boil this "tea" with hops to sanitize the liquid and offset the sweetness with some bitterness, and then ferment this liquid with yeast to make alcohol.  Ok ok, it's not JUST that simple, but like I said those are the basics.

Today, we'll go through the basic process for making a Dry Stout, as described in Life Told in Recipes on February 4th.  This recipe is a partial mash, meaning that we'll mash our grains (steep them in water a specific temperature to break down the complex sugars into simple sugars yeast can ferment) and then use a malt extract to give us the bulk of the fermentable sugars.  (Just to clarify, I mostly make beer with 100% grain... known as All-Gran... but as the weather is cold, I'm not doing this outside!!!  The stove top will suffice until it warms up!!)  As I go through the ingredients and the process, I'll try to explain as much as possible... realizing that brewing is VERY complicated, I'll also include some resources at the end for you to investigate further!  BTW if you brew this today or tomorrow, you'll still be able to drink this by St. Patrick's Day (well BARELY... but if you keg, you'll make it).


Dry Stout
6 gallons at the end of the boil, 5 1/2 in the fermenter, 5 gallons in the keg
1.044 SG
1.009 FG
4.4% ABV
41 IBUs
  • 2 lbs 2-Row (a base malt with enzymes necessary to break down complex sugars... along with the malt extract, the 2-Row gives us fermentable sugars)
  • 2 lbs Flaked Barley (gives us a silken quality to our beer, as well as adds "barley" flavor... whatever that means!!)
  • 1 lb Black Roasted Barley (the quintessential roasted malt needed for a dry stout... dark, bitter, sharpness, full of life) - you can crush this a little finer than the rest of the grains
  • 3.5 lbs Golden Liquid Malt Extract from Northern Brewer (the bulk of the fermentable sugars come from this stuff)
  • 2 oz East Kent Goldings Hops, 4.5% AA (From England) - boiled for 60 minutes
  • 1 Pack US-05 yeast
  • Extra water for topping off our fermenter
In addition to the ingredients, you will need:
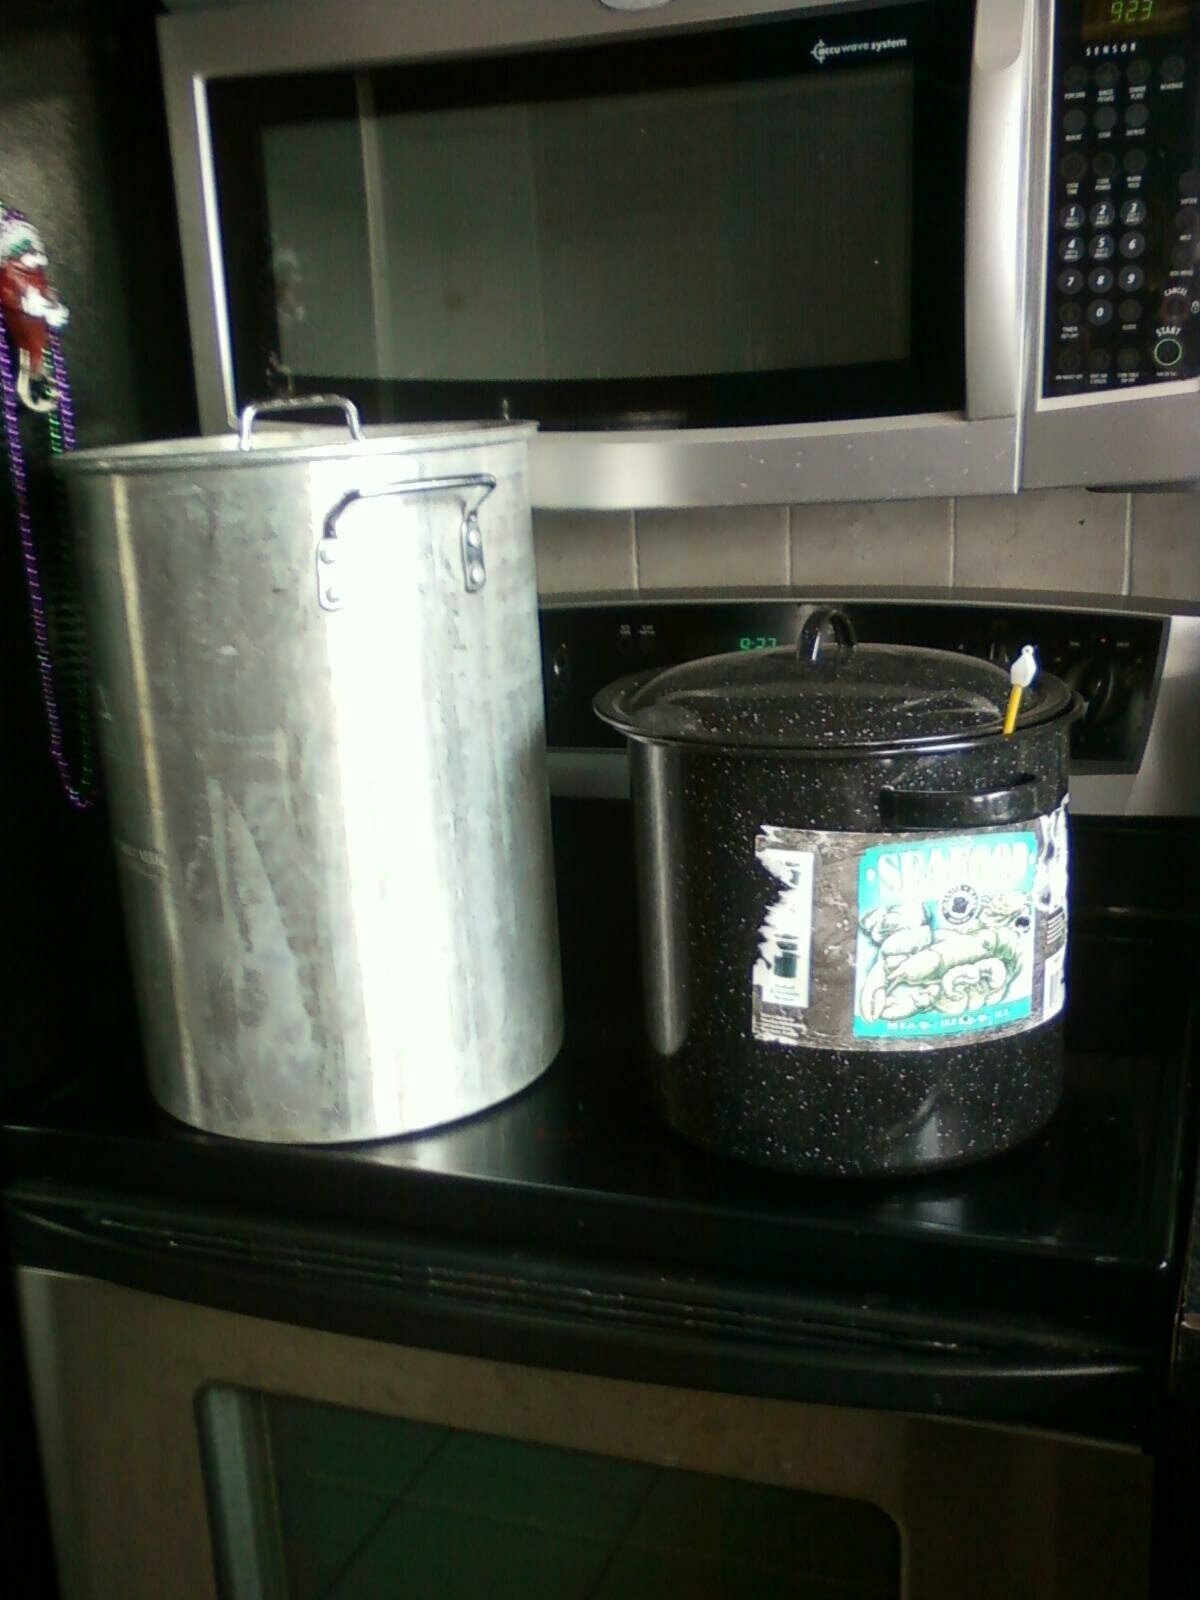
  • 2 pots at least able to hold 4 gallons, but 5 gallons or larger are preferable
  • Thermometer (I have a NICE lab thermometer)
  • Large spoon
  • Strainer or colander
  • Large grain bag or nylon paint strainer bag
  • Fermentation bucket or carboy
  • Airlock
  • Sanitizer (I started off using One-Step, but now use Star-San)
We can divide our brew day into 3 sections:  the mash, the boil, and post-boil.  If we were just brewing an extract beer (without any grains or anything that needed mashing), we would simply boil up some water, add the extract, hops, cool it, and add our yeast... but this recipe is a bit more complicated!  Since the Barley needs to be mashed, we'll have to make a tea of our grains, hold it at a certain temperature for an hour, strain out the tea, and then complete our boil.


I have found it very efficient to mash at 1.5 quarts of water per pound of grain... So, 5 pounds of grain means we need 7.5 quarts of water, which is almost 2 gallons of water.  Start by heating 2 gallons of water in one of your pots to about 165-170*F (the major enzymes that are involved in starch conversion work best between 148*-158*F... When we combine 165*F water with our grains at room temperature, we're hopefully going to have our temperatures even out to somewhere in this range).  While the water is heating, combine all of your grains in your grain bag (make sure they are crushed by your local homebrew store or wherever you bought your ingredients!) and tie off the end.  Once you've hit your mark in your kettle, turn off the heat (but leave the pot on the burner) and add the grain bag to the pot, making sure all the grains are soaked through.  Check your temperature... if you are above 160* stir with your spoon, if you are below, add some heat from your burner.  Congrats, you are now mashing!  I'm not too concerned on the temperature... ideally you want to have a specific number in mind, but anything in this range will get you starch conversion.  A little on the low side will produce a drier beer, and conversely on the high side, you'll get a beer with more body.


Wait an hour or so checking the temperature periodically... I think I checked every 20 minutes or so.  I also taste the wort (unfermented beer) every step of the way... when you taste, notice how sweet it is.  If your wort isn't sweet, you still need to hold at a conversion temperature.  About 30-40 minutes into your mash, fill your 2nd pot with another 2 gallons of water and heat it up to 165* again.


After your hour, drain your grain bag over the pot... there are all these worries about not aerating your wort when it is hot, but whatever, I've never had a problem.  I set up my grain bag in my colander, with one handle on the edge of the pot and the other set up on my large spoon, which I've placed across the top of my pot.  So you're draining, and eventually all wort in the grain bag has almost drained away... now soak the bag in the 2nd pot.  The purpose of this is to release some of the sugars still on the grain husks; soak for another 10 minutes or so!


Ok, we've now extracted as much sugars as we can from our grains... time to get ready to boil!  Combine both pots together and you should have about 3 1/2 gallons of wort.  For my system, I put these in my big brew pot (even for boiling on my stove) and add a gallon of water to increase my boil volume a bit, but this is not necessary.  Put your combined wort on your burner and crank the heat... it takes a LONG time to bring this pot to a boil!!!  You don't need a super-rolling boil, but more than a simmer, in my opinion.  Once you are boiling, add your hops... in this case, we are doing one hop addition and boiling it for 60 minutes.  Some other recipes may call for different hops or different timed additions... just follow your recipe!  Now sit back and relax and watch your wort boil... just a quick word of advice:  Wort can boil over VERY quickly, and when it does, it makes a HUGE mess... use caution!


After you have boiled your wort for 60 minutes, you need to quickly cool the beer.  We do this for a few reasons, however the most important are 1.) we want to make sure the environment isn't too hot for our yeast and 2.) we want to have our wort spend the least amount of time in a temperature range favored by wild yeasts and bacteria.  The best way I've found to cool my wort is with an immersion chiller, which is a coil of pipe with cold running water going through.  Indoors, this is impractical, at least in a kitchen!!!  Other alternatives are a snowbank (a la John Palmer from How to Brew) or the more popular sink with ice!  Some people say to keep your pot covered, some say to vent a little... I keep my lid on so as not to let wild bugs in!


As your wort is cooling, you need to sanitize your fermentation bucket; we want to make sure the yeast we introduce into our wort consumes the sugars, and not some wild yeast already living in your bucket.  Oh BTW, for all you clean and sanitary freaks out there... there are wild yeasts and bacteria ALL around us, no matter what you spray on your counter tops.  I'm just saying...  I personally use Star-San to sanitize all of my equipment, but I have used One-Step in the past; both are good products.  (I switched to Star-San simply because I've increased the amount of beer that I'm brewing, and the Star-San will last for two weeks or even longer depending on conditions)  You should also sanitize your packet of yeast, the airlock, the scissors you'll use to cut open your packet of yeast, and anything else that might come into contact with the wort-soon-to-be-beer.

We're almost done - once the wort is cooled, pour it into your now sanitized bucket... You can take the lid off the bucket and put it on the counter; better yet, spray the counter down with sanitizer and EVEN better, put some plastic wrap down and spray THAT with sanitizer (yes I go that far.. I have sanitary issues... at least with my beer).  As you pour the wort from your cooled pot to the bucket, this will be enough to aerate and introduce oxygen into the wort (long story short, yeast need oxygen during the first process of fermentation).  Make sure to NOT pour in the hop matter that has fallen to the bottom of your kettle by now.  As our recipe is for 5 1/2 gallons of beer in our fermenter (and we only boiled about 3 1/2 - 4 gallons), we now need to top off our fermenter with extra water.  I suggest natural spring water, but tap water works just as well... make sure you sanitize the faucet before holding it over your wort!

OK... add your yeast (you remembered to sanitize the packet AND the scissors, right?), seal up your fermenter, make sure your airlock is in place with sanitizing solution or rubbing alcohol in the chamber.  There are those out there who are probably yelling at me for not hydrating my yeast... yes yes, dry yeast should be hydrated, but if this is one of your first batches and you've already done so many new things today, this is one small detail which can be overlooked... we'll get it next time!!!

For US-05, I think any fermentation temperature in the lower 60*F's will be fine.  I ferment this in my basement which is 62* right now... I'll assume that the yeast will generate enough heat to bring that temp to 66*F or so.  (Other beers, I control the temperature in a variety of ways)

Et voila... BEER!!!  Packaging your beer is a whole bigger issue... we'll get into it in detail some other time!  For those who bottle, reduce the amount of sugar solution by half so as not to over carbonate your beer.  Those who keg (like I do with 99% of my beers), shoot for 1.5 vols of carbonation.  Serve from Nitrogen if you can!!!!!!!!

Thursday, February 10, 2011

New Blog Started!!!!

Hi Everyone!!!!!

I'm so glad people will (hopefully) tune in to Mikey's Beer Guy Blog!  I'm planning to officially announce the start of this blog during my next posting with "Life Told in Recipes" - March 4th, 2011.  Stay tuned for the GRAND OPENING POST!

Cheers!


Well, I can't leave you hanging without any beer info...  I just kegged my Porter and will brew a Stout tomorrow... more info to come